WARNING: This product contains nicotine. Nicotine is an addictive chemical.
In the ever-evolving world of vaping, the convenience and simplicity of disposable vapes have skyrocketed in popularity among enthusiasts and beginners alike. These ready-to-use devices offer a hassle-free experience, eliminating the need for refilling e-liquids or charging batteries. However, encountering a brand new disposable vape not working can be a frustrating hiccup in what should be a smooth and enjoyable vaping journey. Whether it’s a manufacturing defect, a battery issue, or a simple user oversight, there are several reasons why your disposable vape might not be performing as expected. In this article, we delve into common problems that may cause a brand new disposable vape to malfunction, providing you with effective troubleshooting tips and solutions to get you back to vaping in no time.
Disposable vapes have revolutionized the way people enjoy vaping, offering a convenient, no-fuss alternative to traditional, refillable vaping devices. Compact, ready-to-use straight out of the package, and requiring no setup or maintenance, disposable vapes are perfect for those on the go or new to vaping. They come in a variety of flavors and nicotine strengths, making them an appealing choice for every palate and preference.
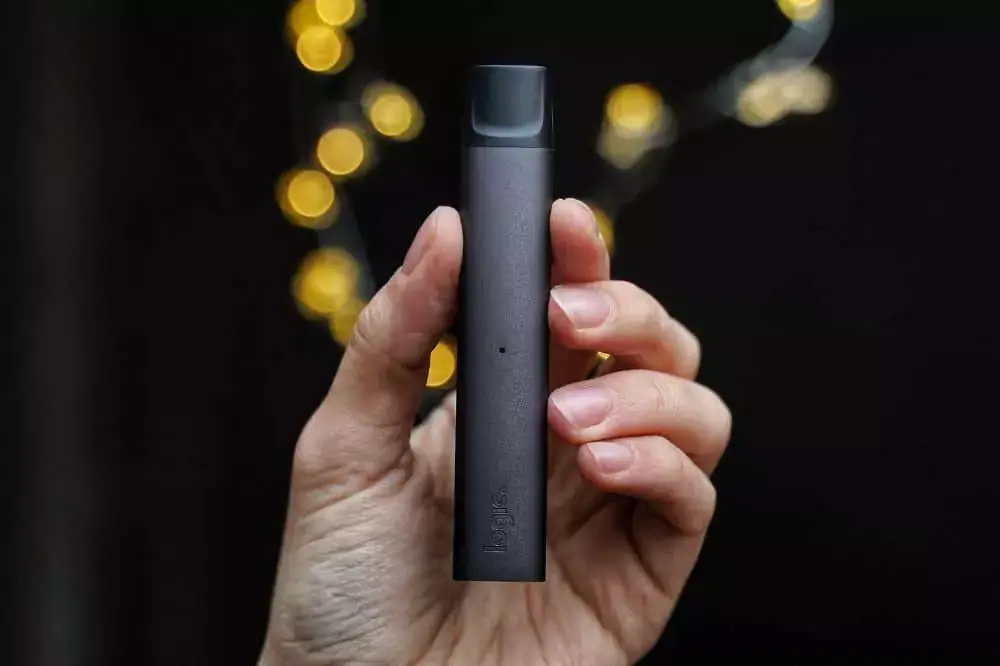
Mouthpiece: This is where you draw the vapor from the device. It’s designed to fit comfortably on the lips.
Tank: The tank holds the e-liquid or vape juice. In disposables, the tank is pre-filled and sealed.
Battery: Powers the heating element. The battery in a disposable vape is designed to last until the e-liquid runs out.
Heating Element or Coil: This component heats the e-liquid, turning it into vapor that you inhale.

Encountering a dead battery in a brand new disposable vape can be a disappointing start to what should be an enjoyable experience. This issue is more common than you might think, often due to long storage times before the device makes its way to you.
Identifying a dead battery is relatively straightforward—if your disposable vape doesn’t produce vapor or show any signs of life (such as lighting up or activating upon draw, if it’s designed with such indicators), then the battery is likely the culprit. While most disposables don’t offer the option to charge, this diagnosis helps you understand the problem and seek a replacement if necessary.
Another potential hiccup in your vaping experience can be a clogged airflow system. This issue prevents the device from producing vapor efficiently, if at all.
Signs of a clogged airflow include difficulty drawing from the device and minimal to no vapor production when you inhale. This problem can often be caused by e-liquid leaks or condensation blocking the air path. Simple fixes, such as gently tapping the device on a soft surface or blowing through the intake vents to clear obstructions, can sometimes restore airflow and functionality.
The heating element is the heart of your disposable vape, responsible for vaporizing the e-liquid. If you’ve ruled out the battery and airflow but still aren’t getting any vapor, a faulty heating element might be to blame. You can identify this issue if the device appears to be on—perhaps indicated by an LED light or activation upon draw—but fails to produce any vapor. Unfortunately, fixing a faulty heating element in a disposable vape is not feasible due to the design of these devices. In such cases, seeking a replacement is the best course of action.
Lastly, problems related to the e-liquid itself, such as leaks or the device running out of juice sooner than expected, can mar your vaping experience. Leaking can cause a mess and potentially clog the airflow, while prematurely depleted e-liquid leaves you with a useless device sooner than anticipated. To mitigate these issues, store your disposable vape upright and avoid exposing it to extreme temperatures, which can cause the e-liquid to thin and leak or deplete faster than normal.
Watch the video to learn How to fix My Brand New Disposable Vape Not Working.
By understanding these common issues and their signs, you can better troubleshoot your disposable vape problems and, in many cases, find a quick fix to get back to enjoying your vaping experience.
The first step to a satisfying vape experience is ensuring your device is properly activated. Disposable vapes vary in their activation mechanisms—some are draw-activated, requiring a simple puff on the mouthpiece to get started, while others may feature a button that needs to be pressed. The key to success here is attentiveness to the device’s instructions. Manufacturers provide specific guidance on activation to prevent any initial hiccups. If your vape isn’t producing vapor, double-check to ensure you’re following the activation steps correctly. For draw-activated devices, try a steady, gentle draw to initiate the mechanism. For button-activated models, ensure the button is fully engaged, often requiring a quick press or sometimes a series of presses. Proper activation can make all the difference in transitioning smoothly to a gratifying vaping session.
Once your device is activated, the approach to your initial puffs plays a crucial role in priming the heating element, ensuring it works efficiently. Start with gentle, slow puffs to allow the e-liquid to properly heat and vaporize. This method helps in avoiding dry hits and ensures the coil is adequately saturated, providing a smoother and more enjoyable vaping experience right from the start. It’s a simple yet effective way to ensure your device operates at its best, maximizing the flavor and vapor production without overwhelming the heating system.
Before getting immersed in the vaping experience, a crucial preliminary step is to thoroughly inspect your disposable vape for any physical damage. This includes looking for any visible cracks on the device’s body, leaks around the mouthpiece or other parts of the vape, or any indications that the device has been tampered with or compromised. Such damage can not only affect the device’s functionality but can also pose safety risks. A compromised container may lead to leaks, affecting the quality and safety of the vapor. If any damage is detected, it’s advisable to return the device to the point of purchase for an exchange. Starting with a device in perfect condition ensures you can enjoy a safe and satisfying vaping experience without concerns over functionality or health and safety.

Encountering issues with a brand new disposable vape can be a frustrating hurdle for any vaper, but with the right troubleshooting tips, most problems can be quickly and easily resolved. Whether you’re dealing with a dead battery, clogged airflow, a faulty heating element, or e-liquid problems, understanding the signs and knowing how to address each issue can save your vaping experience. Proper activation and taking initial gentle puffs are crucial first steps to ensure your device is working correctly. Additionally, inspecting your vape for any physical damage before use is essential to avoid potential safety hazards and ensure the device functions as intended. By following these troubleshooting tips, you can overcome common disposable vape issues, ensuring a seamless and enjoyable vaping session. Remember, when in doubt, consulting the device’s manual or reaching out to the manufacturer can provide further guidance and support, helping you get back to vaping without significant downtime.
3. How do you fix a disposable that won’t hit?
To fix a disposable vape that won’t hit, start by ensuring it’s properly activated according to the instructions. If it’s activated but still not working, check for clogs in the airflow by gently tapping the device on a soft surface or trying to inhale more forcefully to clear any blockages. Also, verify there’s no visible damage or leaks. If the device has a light indicator, observe if it lights up during attempts to draw; no light may indicate a battery issue. For devices with a button, ensure it’s fully pressed. If these troubleshooting steps don’t work, the vape may be defective and require replacement.
4. How do you activate disposable vapes?
To activate a disposable vape, first check if it’s draw-activated or button-activated. For draw-activated vapes, simply inhale from the mouthpiece to turn on the device and start producing vapor. For button-activated models, press the button according to the manufacturer’s instructions—usually, this involves a quick series of presses, often five quick clicks to turn the device on. Always read the packaging or any accompanying instructions carefully to ensure correct activation and prevent any damage to the device.
5. How do you hit a vape for the first time?
When hitting a vape for the first time, start by ensuring your device is properly activated. For draw-activated devices, simply inhale gently from the mouthpiece. If it has a button, press it as instructed, usually with a series of quick clicks to turn it on. Then, take a slow, steady draw to allow the vapor to form. It’s important to start with small puffs to get used to the sensation and to prevent coughing or irritation. Let the vapor linger in your mouth for a moment before inhaling into your lungs or exhaling it, depending on your comfort. Remember, vaping should be a relaxed and enjoyable experience, so take it easy and adjust your technique as you become more accustomed to it.
If you want to know more, please refer to this article:
